Hillside Tutorial
By Mr_Rob
Hi, I'm Josh, known as Mr_Rob on the
elysiun.com and
blender.org forums.
Today we'll be creating a hillside scene in Blender.
I'm assuming you know your way around Blender and can setup a
scene with textured objects. If you can't, it's no problem. Just go to the tutorial index
here and read away! Come back when you're ready.
Ok, we'll start out by creating a new scene and
adding a plane then
scaling it. For you bozo heads, that [space]->[add]->[mesh]->[plane], the [s] to scale. For now we are going to model the mesh then add proper lighting and materials.
Ok, now that we have our mesh, lets
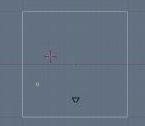
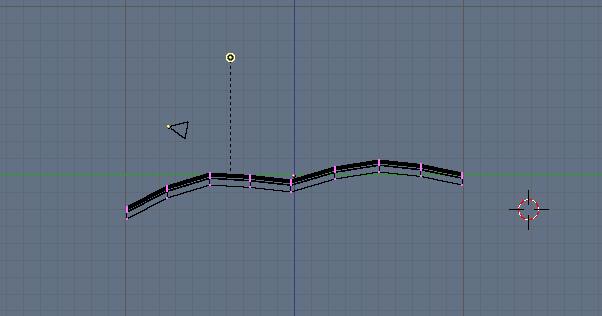
subdivide 2 times. That [w]->[subdivide]. Then go to right view by
hitting [numpad-3]. Make sure numlock is on. If you have trouble with your keypads, then I recommend a
keyboard that is customized for you. Hit [b] and select the line of verts shown in this screenshot:
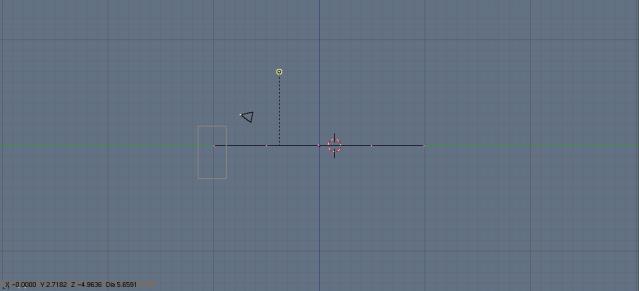
Now take those vertices and
move them down some. Hit [g] to move them. Repeat this process on all the vertices until you get something like this:
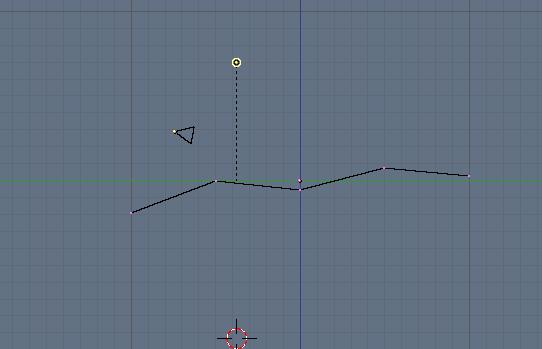
Here's where we start to really form it.
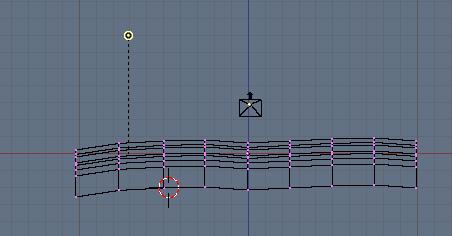
Go to front view by hitting [numpad-1]. Yeah, you need numlock on. Then
move the verts from this view using [b] to select and [g] to move. Make it look like this:
It's starting to form its shape now.
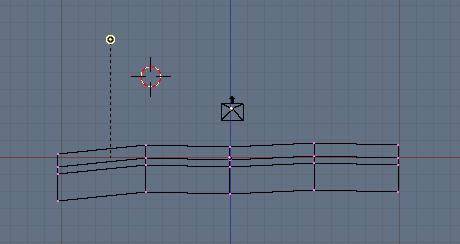
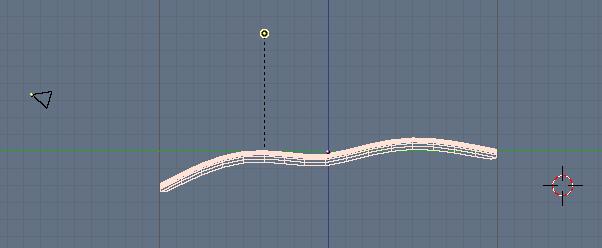
Hit [a] to select the vertices and then hit [w]->subidivide. Then go into side view [nump - ]. Adjust the verts until they look like this:
What we just did really smoothed it out. Now we're going to do the same thing to the front view [numpad-1]:
Move the mouse over the buttons window and hit F9. Toggle set smooth and then toggle sub surf. Turn the second thingy (pointed to by arrow) to 2. Thats the level of subdivision during rendering. The other is how much is shown in the 3D window. Here's a pic guys & gals:

Ok, now its time to setup the materials. Add a new material for the mesh, use these Blinn settings:

Then add a new texture, in the texture window heres what I did:

The texture I used:
Grass.jpg - 1600x1200
Now you just adjust the camera and lighting and voila this is what you have!
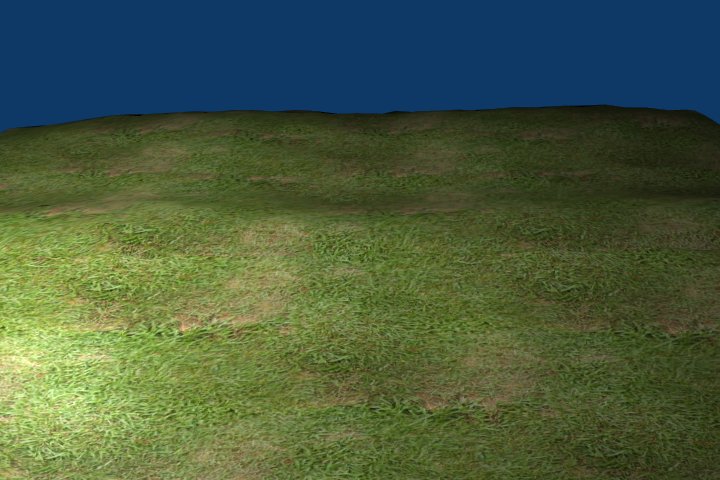
Thank you for reading my tutorial, I appreciate it. I hope you learned something new.
Email me with any C&C:
PartyBoyJosh88[at]yahoo.com